Now that Google+ is in a wider release, and open to business accounts, I’ve decided to jump on board and create some pages. They aren’t anything spectacular but my feeling is that the more touch points one has on the web the better. This said, it is important to stay plugged into these resources so that communications aren’t one-sided… that one side being from your visitors.
I thought I’d share how easy it is to set up a Google+ Page and send you on your way. The assumption in this article is that you have a Google account and that you have gone through the Google Plus Join process. With this all set, let’s get started.
Create Your Google+ Page
The first step is to log into Google plus if you haven’t already. That’s pretty easy. Just head over to https://plus.google.com/, click the <Sign In> button and log in.
 You should now be at your personal profile page. Just click the “Create a Google+ Page” link located in the bottom right corner of the screen.
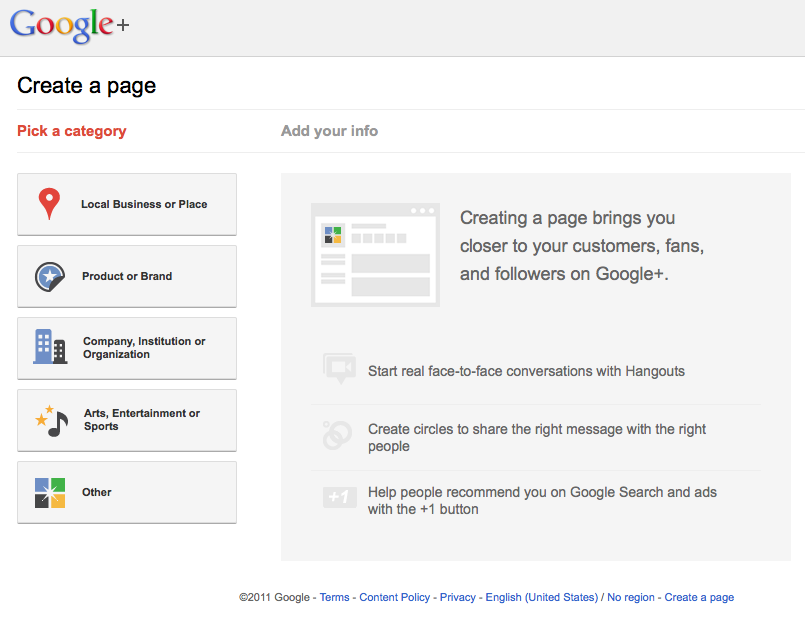
This will take you to the category selection screen where you will identify the type of page you are creating. In our case we selected “Company, Institution or Organization”.
Once you click on the appropriate category button the screen will update to allow for you to enter a Page Name along with other information relevant to the page, like the associated web site URL and the sub-category. After you set these, check that you will adhere to the Page Terms and click the <Create> button.
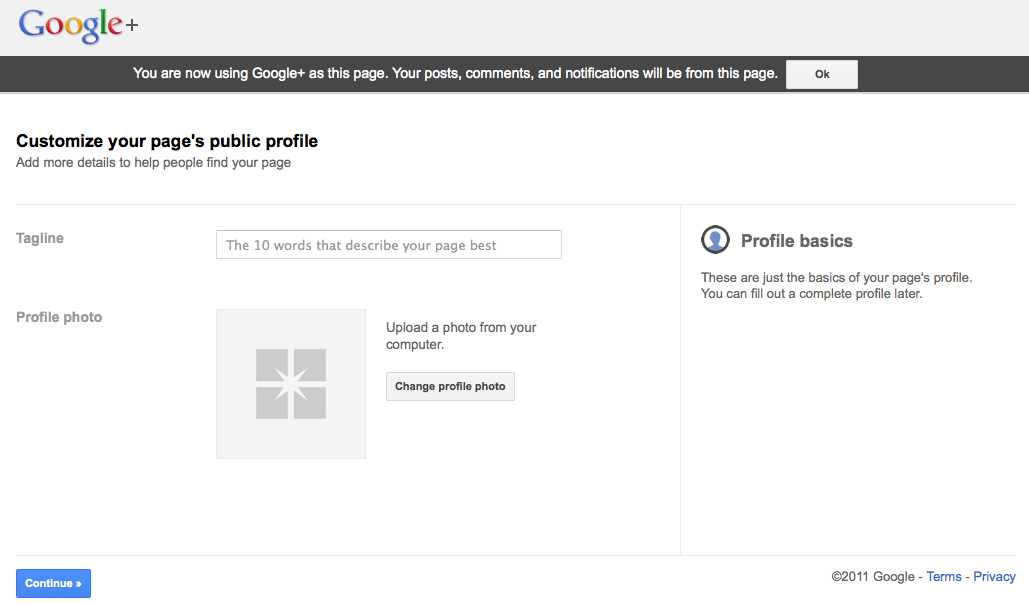
Your Google+ Page will now be created. Following this you are presented a screen where you can begin to build your page’s profile. Enter a short tag line. Note, the tag line should be just that. There will be an opportunity to add expanded details about your organization in just a bit.
Now click the <Change Profile Picture> button. When you set your page’s profile picture you can drag an image to the screen or use the button to browse to an image file. Then you are taken to a cropping screen where you can adjust the crop of the selected image and save it. Once you’ve specified your tag line and added your image click on the <Continue> button.
The next screen allows you to share your new page with your contacts. Skip this for now and just click the <Finish> button.
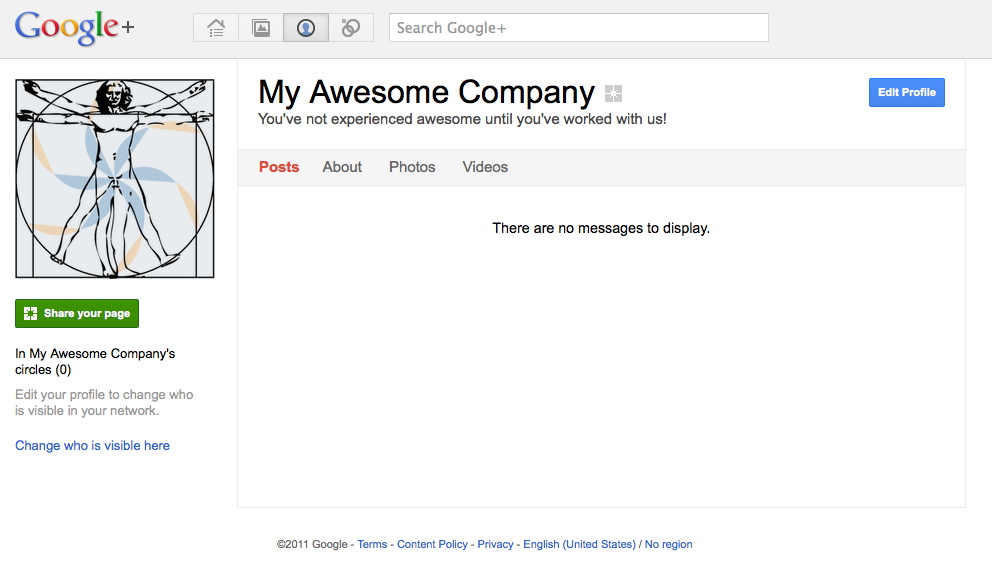
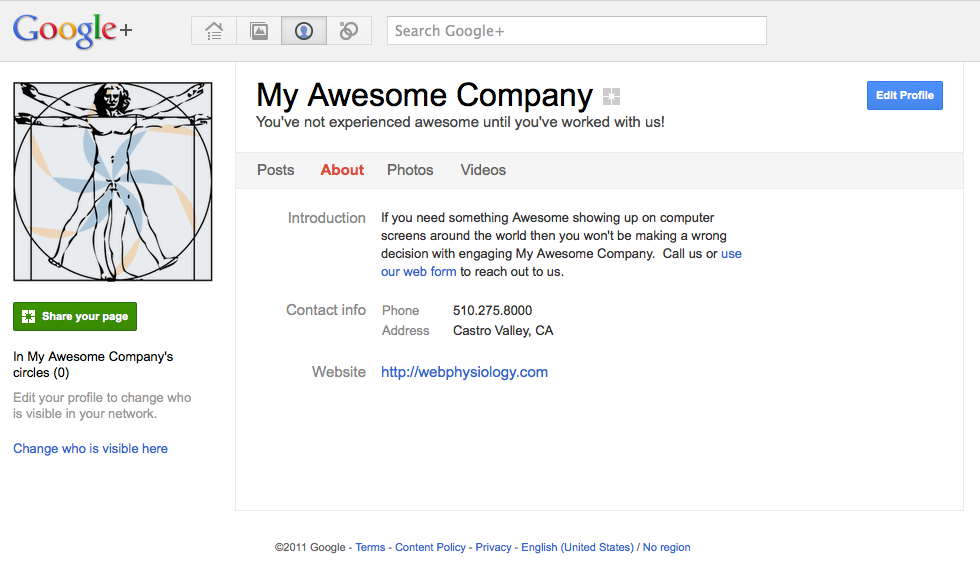
You are now on your new page, well, you actually are on the Getting Started section associated with your new page. The next step will be to expand upon your page’s profile. To do this click on your page’s image. Now you are on your page. From here you can click on the <Edit Profile> button located at the top right of the screen.
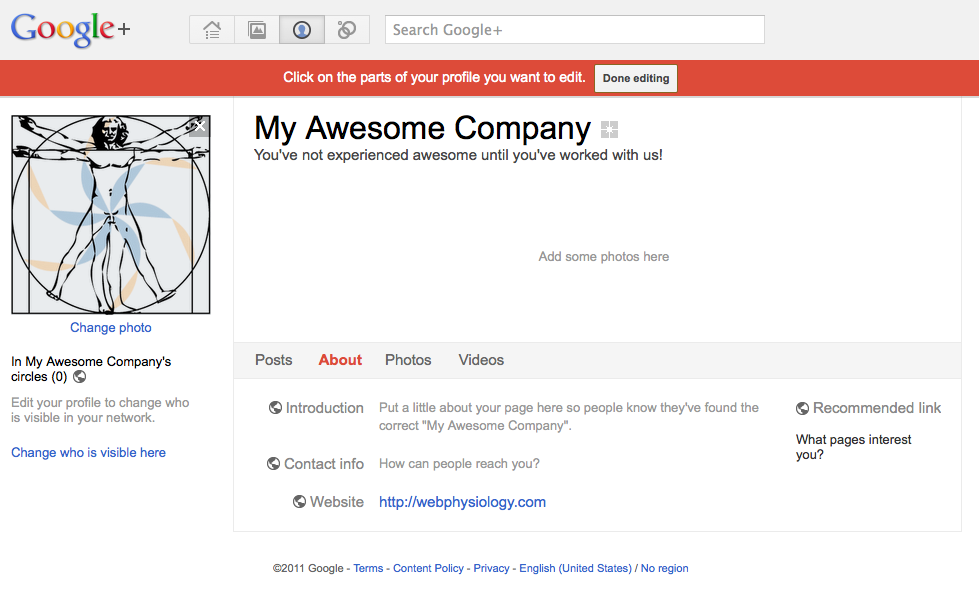
The page edit screen is displayed and the “About” tab should be selected. Two items you likely will want to update are the “Introduction” and “Contact Info” sections. To do this simply click on one of these items. If the web site you entered at the beginning is incorrect, you can update that here too. Once you are satisfied, simply click the <Done Editing> button at the top of the screen. The one great thing to note here is that the Introduction area allows you to insert additional links. This is great if you want to direct the visitor to a contact form or a specific service or product at a URL other than the main one you’ve associated with your page.
Once you’ve completed this information you are ready to share your new Google+ Page. To do this just click the <Share your page> button on the left of the screen. You also can click on the home button at the top of the screen, click on the “Get Started” link below your page’s picture and grab a badge for your web site or the direct URL link to your page.
That’s It! Here are our pages. We’d love to have you add us to your circles!
Final tip, we used the direct URL from the Getting Started page for the above links but then tacked “/about” to the end to have you drop onto the “About” tab of our page.

